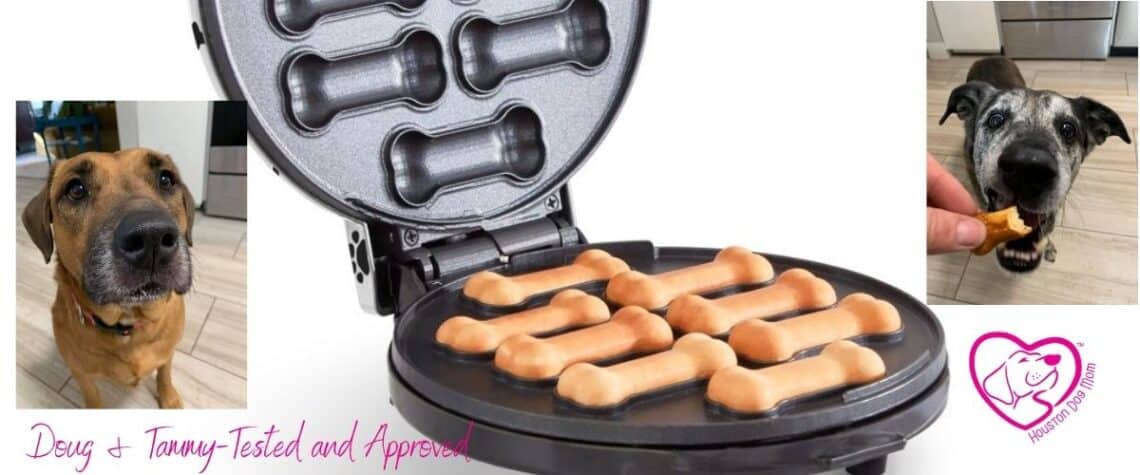
Dash Dog Treat Maker Review
I saw the Dash Dog Treat Maker as I was scrolling Facebook one night. One of my dog rescue friends posted about it. And so I instantly grabbed my phone, hit the Amazon Prime app and ordered one up.
Waffle Maker Meets Dog Treats
I already had a Mini Dash waffle maker. So I knew what to expect. Or so I thought. Mini vs. regular size is a big difference! But basically if you can make a waffle you’re on your way to being able to make DIY dog treats for your dogs.
My dogs Doug & Tammy knew something good was coming their way during the unboxing. They are psychic. Or maybe when I say things like “ooo doggie treats for the good doggies!” they know something is up.
Using the Dash Dog Treat Maker is simple. Plug it in and allow it to heat up while mixing up one of the simple recipes. The treat maker is ready when the blue indicator light turn off. Be careful opening the treat maker — the outside will heat up and you should only touch the handle!
Spray a light coating of cooking spray before pouring batter into each of the 8 bone shaped slots. Then close the waffle iron and set your time. Cooking time varies, but each recipe requires that you flip the treats half way through.
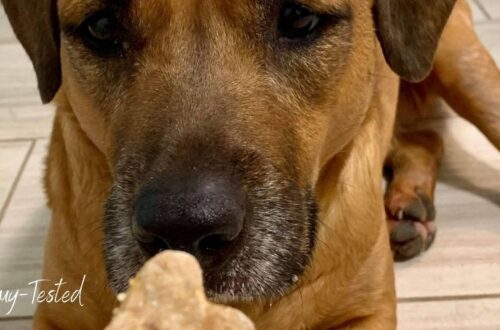
My dogs loved the treats and eagerly watched me as I made them! 🙂

Dash Dog Treat Maker Recipes
The Dash Dog Treat Maker comes with a small recipes book with 7 different recipes. You’ll need this, because most dog treat recipes make dough that you roll out. The dog treat maker needs a more liquid batter. Think “waffle batter” and that’s the consistency that works the best.
I tried 2 recipes from the recipe book, the Banana Flax Treats and the Peanut Butter Pumpkin Treats recipe.
Of the two, the Peanut Butter Pumpkin treat recipe came out perfect, almost exactly as shown in the pictures. The Banana Flax Treat? Well maybe it’s because I used old fashioned oats instead of fast-cooking oats, but the dough was goopy and hard to get into the pan. (Peanut Butter Pumpkin Treats shown below.)

One real LOL on the instruction book. They say to “place or pour about 1/4 cup or 4 tablespoons of batter onto the cooking surface and close the cover.”
I’m like…. how do I pour 1/4 cup of batter into each of these dog treat sections. But what they mean is, each time you fill the 8 biscuit holes, you’ll be using about 1/4 to 1/3 cup of the batter. Big difference.
TIP: stick with more liquid recipes that you can easily pour from a cup.
What I Like About the Treat Maker
If you’ve read any of my recipes here on HoustonDogMom.com, you know that I’m not exactly an ace in the kitchen. I take disastrous shortcuts and nothing I do is Pinterest Perfect.
With the Dash Dog Treat Maker you don’t have to be a perfect cook. You just have to be patient, able to set a timer, and able to flip the treats so they fully cook and become gorgeous.
The recipes they provide are easy to make and my dogs loved them.

What I Don’t Like About the Treat Maker
The Dash Dog Treat Maker is difficult to clean. The metal dog treat plates are not removable. So each time you use it, you can expect to have to wipe off burnt cooking spray from around the edges.
The folks at Dash already know this is an issue, because they include a whole section on how to properly clean the Dash. (And perhaps I was a little heavy-handed with the cooking spray, considering it is a non-stick surface.)

Where to buy the Dash Dog Treat Maker
You can find the Dash Dog Treat maker at Target, Walmart, Williams Sonoma, or my favorite Amazon.
As I write this, I’ve seen that many stores have been selling out. So here are links to the Dash Dog Treat Maker and some alternatives to the Dash Dog Treat Maker, plus biscuit-making kits.
HoustonDogMom.com is an Amazon Affiliate and we earn a commission when you buy using these links. Thanks for helping me keep Doug & Tammy in kibble!


2 Comments
Kristina
Thanks for all the great tips!! Tammy & Doug are too adorable!! 🥰
HouDogMom
Awwww. Thanks! I think so too!!!